Invoices
Creating An Invoice
1. Go to Orders -> Invoices in your Gahela admin. This will bring up the invoices overview page. This shows all open invoices.
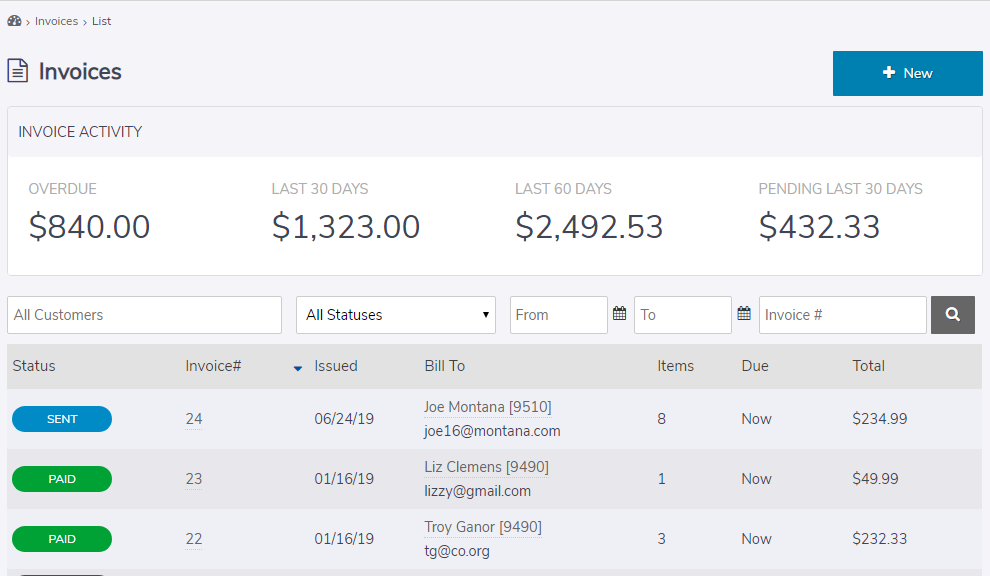
2. Click the + New Invoice button in the top right to open the New Invoice Page.
Explanation Of Invoice Page
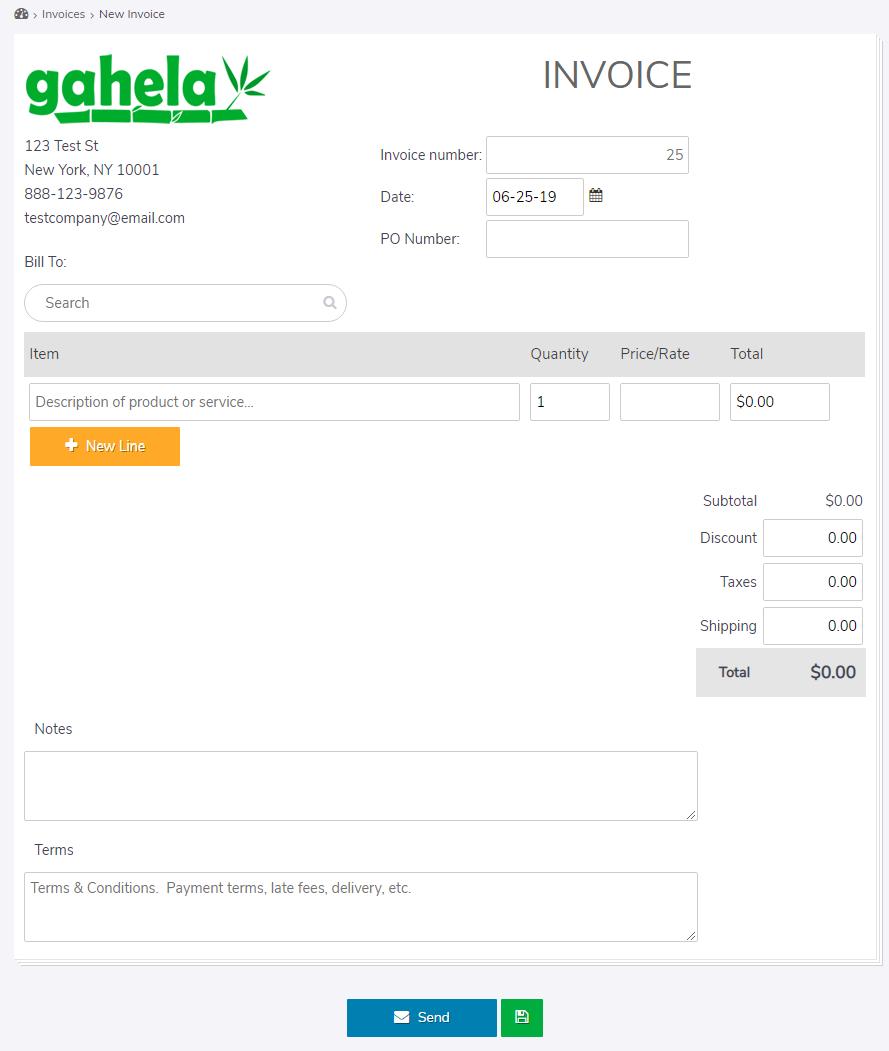
- Logo & Address: On the invoice page your company address and logo will be filled in automatically.
- Invoiceid: To the right you can select an invoiceid. This is generated based on the next available invoiceid available. If you try to create an invoice with an invoiceid that has already been used it will return an error.
- Date: Below the invoiceid is the date. This can be changed for a past or future date, and defaults to the current date
- PO Number: This field is optional. If the buyer has provided a purchase order number it can be entered here.
Entering The Customer Billing Name & Address
The Bill To: field will be populated with a current user registered in your Gahela Admin. If you need to send an invoice to a new customer go to Users -> Create User Profile, and then use the customer search.
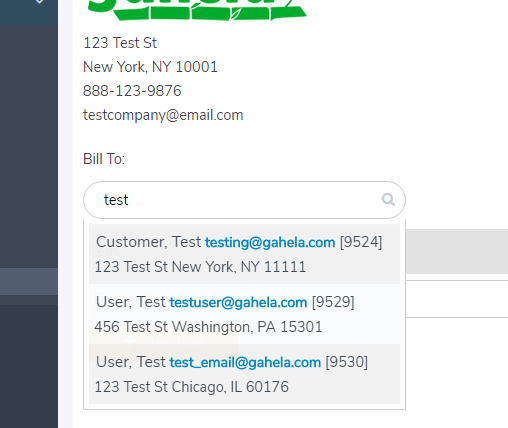
Simply click on the customer in the search drop-down to enter their details in the invoice.
Adding Products
You can add existing products from your store, or create new products or services in the invoice itself. To enter a product currently in your store just start typing the name on the item field and a list of matching products will display:
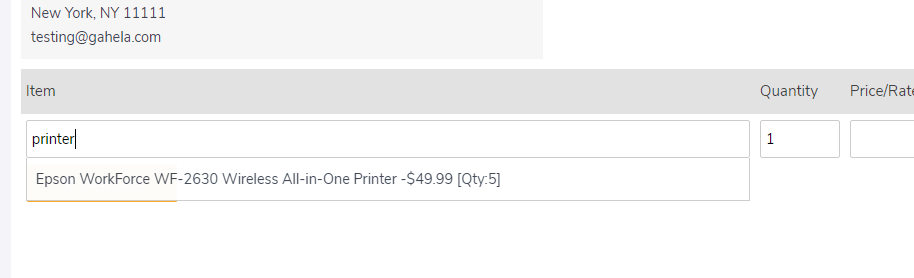
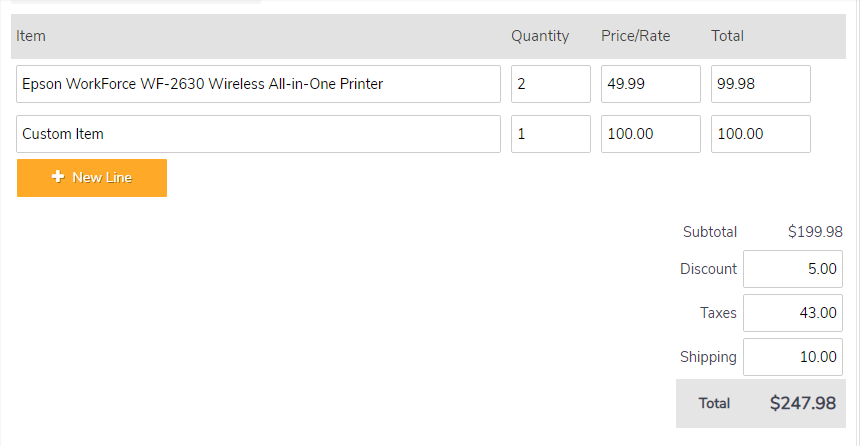
Selecting a product from the results will enter the details and price in the item field. To enter a custom item just type in the name, enter the quantity and price ignoring the search results. To add another product click the + New Line button.
Calculating Totals
Once all products are added the totals are automatically calculated. Here you can enter discounts, taxes, and shipping before sending the invoice.
Sending The Invoice
Once the invoice is complete you can click the Send button at the bottom to send this to the customer immediately. If you are not ready to send click the save button, and this will be available in your overview to sent at a future date.
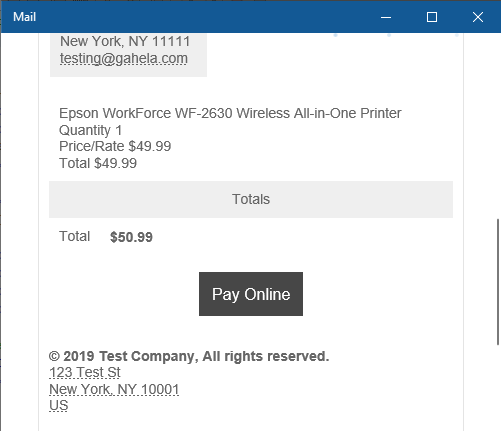
Customer Payment Through Your Checkout
When the customer receives their invoice the email contains a link where they can pay online. Clicking this link will populate a shopping cart with the products from the invoice and redirect the user to the checkout page.